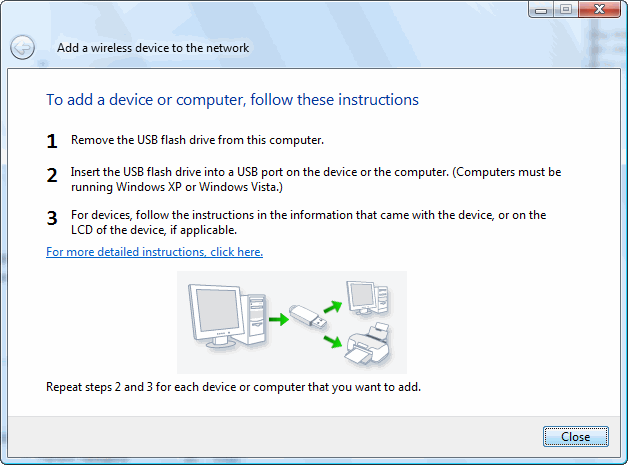
Windows XP (SP2 and above) has an easy way to add computers or devices (like a wireless printer) to a wireless network. Once you have 1 computer connecting successfully to the wireless network, go to the Control Panel and click the Wireless Network Setup Wizard.
The wizard will guide you through a series of steps which will save all necessary settings on a USB-stick. You can then simply insert the stick into another computer or device that you want to connect to the same network, and the wireless settings will be transferred automatically.
When I switched to Windows Vista, I could not find back that wizard. The Windows Help nor Google brought any relief. I finally gave up and entered the security settings manually.
Today, I had to connect a new Vista machine to the network and I really wanted to find an easy way to get that working. After all, the wizard was working great in XP, so I could not believe it was ditched in Vista. After long searching, I finally discovered where the Wizard sits:
- Click the Start button, select Network.
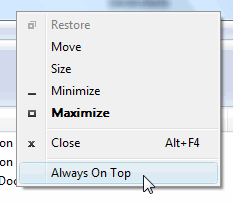
- Click Add a wireless device. The button may be “hidden” if your window is small (that’s the main reason why I didn’t find it in the first place).

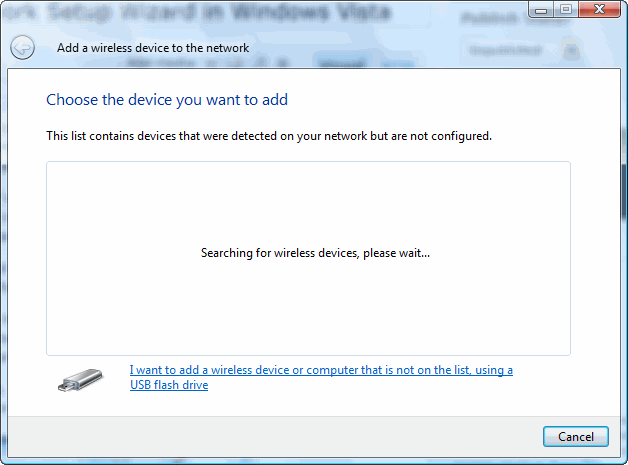
- In the dialog box that appears, click I want to add a wireless device or computer that is not on the list, using a USB flash drive
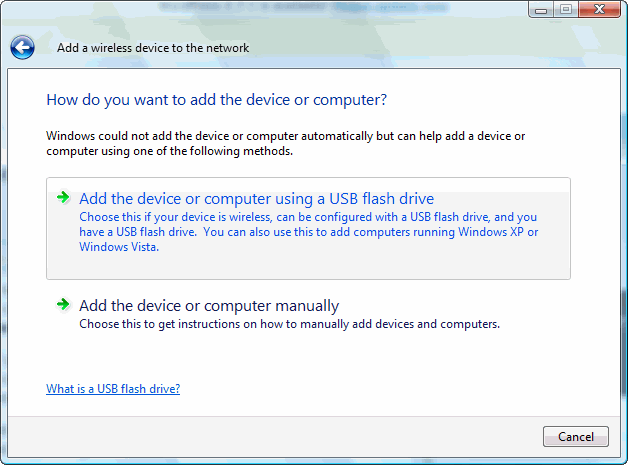
- Click the first option: Add the device or computer using a USB flash drive
- This will start the wizard. First it will ask which wireless network to use:
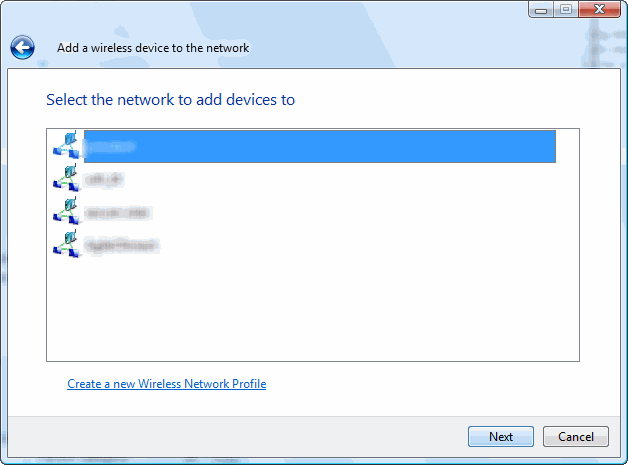
- Then it will ask to plug a USB stick into the computer and select it:
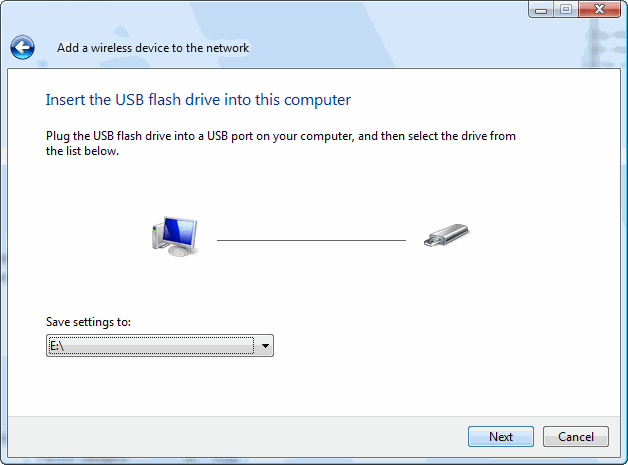
- This will save the settings on the stick. You can now use it to connect other computers or devices to the wireless network.
