RTFM – WordPress in a subdomain

Yes, we should all read the manual :-).

I tried to have this blog available from blog.krisgielen.be/ and used the administration tool provided by my hosting company (Infomaniak, highly recommended if you have a website to host in Europe) to create the subdomain and create an .htaccess file that redirects http://www.krisgielen.be/blog to http://blog.krisgielen.be

Everything seemed to be correct, and yet it did not work. When I tried http://blog.krisgielen.be, I ended up at the my homepage http://www.krisgielen.be/, never at the blog.

I contacted the support desk of my hoster, but they confirmed it was all OK, and the redirection actually happened in WordPress itself.

So I started to search for a solution to this problem… until I finally decided to look at the WordPress documentation.
At http://codex.wordpress.org/Giving_WordPress_Its_Own_Directory, I learned that what I wanted to do is not difficult at all… it’s a simple Settings option.

I followed the instructions… et voila!
Experimenting with Adobe AIR and jQuery – Part 2

The next step for my Top100-application was to make the same screen appear in an Adobe AIR application.

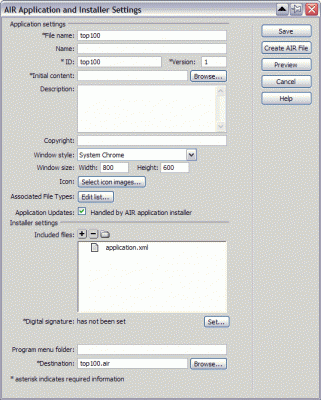
When you install the Adobe AIR extension for Dreamweaver, the Site menu in Dreamweaver has an additional option, called Air Application Settings. I selected that option and got the following screen:

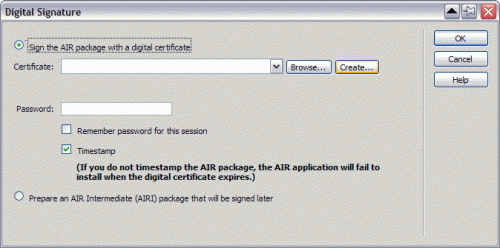
I entered 0.1 as Version, browsed for step1.html as Initial content, and clicked the Set button for Digital Signature. That gave me the following dialog box:

Every AIR package needs to have a digital certificate. Luckily, you can create one yourself, by clicking the Create button. (Go to the Adobe AIR Developer Center for more details on signing an AIR package)

Clicking the Create AIR file gave me an error message about timestamp issues, but I could dismiss that dialog box by clicking Disable (which disables the timestamp check, but I trust myself, so I don’t need that type of security). This finally resulted in a top100.air file.

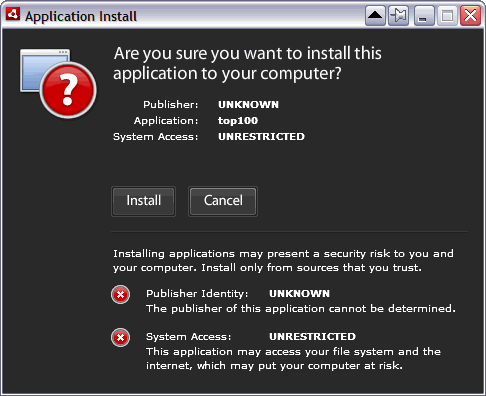
Double-clicking that file in Windows Explorer resulted in the following warning dialog box:
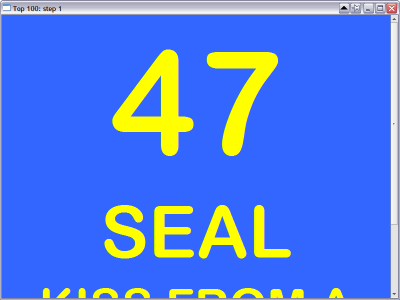
which did not come as a surprise, because I signed the package myself. I clicked Install, and the application showed on my desktop:

So it kinda worked… although I did not want the window border, the title, the buttons or the scrollbar.

So I needed some tweaking, which was easy enough in the Air Application Setting dialog box:

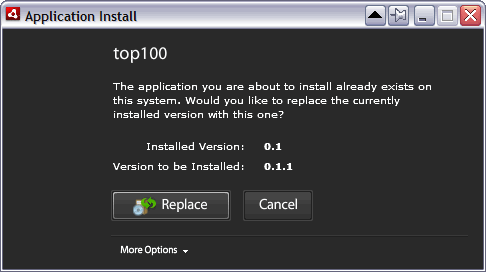
I selected Custom Chrome (opaque) for Window style and 1024×768 for Window size, changed Version to 0.1.1, created a new AIR file, double-clicked to install it, and clicked Replace to install the new version:

This finally resulted in what I wanted:

The next step was to have the application show the next song, when pressing a key. That’s for part 3 :-).